
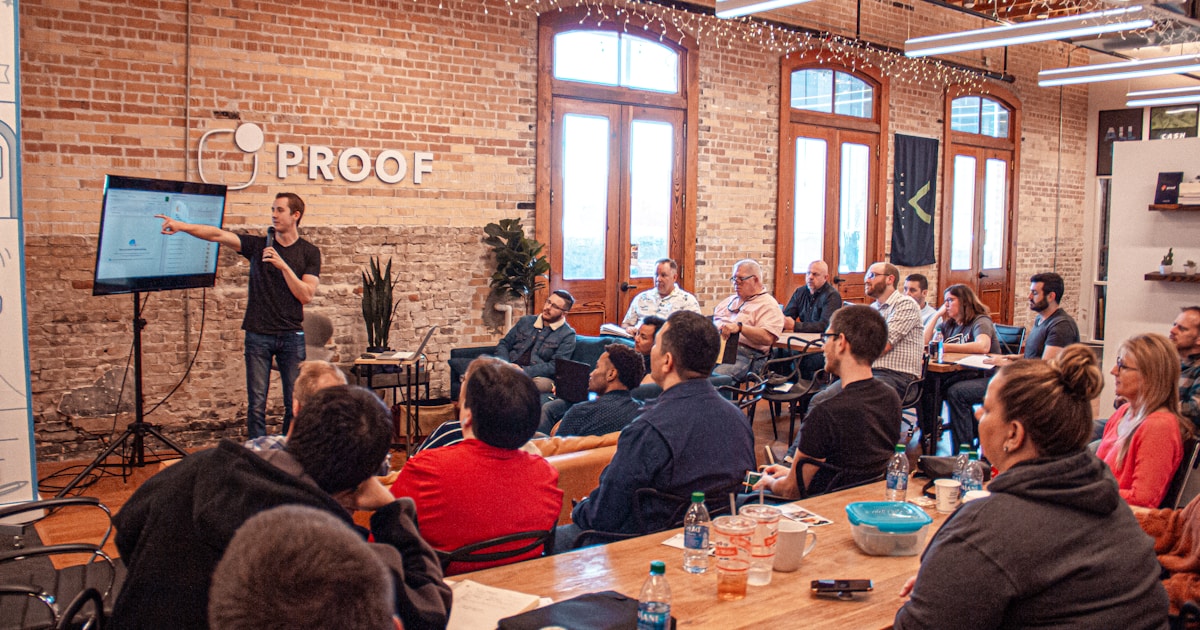
Webinar products let you host live sessions where attendees register with their name and email. You provide the meeting link (Zoom, Google Meet, etc.) and registrants get access instantly. Available on Business tier.
01
Step 1: Product Details
Set up your webinar product
- ✓Click 'Add a new product' from Creator Dashboard
- ✓Click 'Add details' button
- ✓Enter a clear title (e.g., 'How to Build Your First Online Course')
- ✓Write a description of what attendees will learn
- ✓Select 'Webinar' as category
- ✓Add relevant tags (optional)
- ✓Click 'Save & continue'
02
Step 2: Thumbnail
Upload a cover image for your webinar
- ✓Click 'Add thumbnail' button
- ✓Upload image (recommended: 1200x630px) or paste URL
- ✓Click 'Save & continue'
03
Step 3: Pricing
Set your webinar price
- ✓Click 'Set price' button
- ✓Set price to 0 for free webinars, or enter a price for paid events
- ✓Click 'Save & continue'
04
Step 4: Webinar Details
Configure your webinar schedule and meeting link
- ✓Click 'Set up webinar' button
- ✓Select the webinar date
- ✓Set the start time
- ✓Choose duration (30m, 45m, 60m, 90m, or 120m)
- ✓Select your timezone
- ✓Paste your meeting link (Zoom, Google Meet, etc.)
- ✓Add an optional description of the session
- ✓Click 'Save & continue'
05
Step 5: Publish
Make your webinar live
- ✓Review all details on the product page
- ✓Click 'Publish' to make it available
- ✓Share the product link or landing page with your audience
- ✓Registrants will receive the meeting link immediately after signing up
Tips for Success
- Use a clear, benefit-focused title that tells attendees what they'll learn
- Set up your meeting link in advance and test it before publishing
- Share the webinar on social media and email to drive registrations
- View your registrations in the dashboard to track attendance
Business Feature: Webinar products require Business tier. Upgrade to unlock live event hosting. View pricing →
Ready to create your product?
Start building and selling on Skillspad today